Introduction
PayPal is probably one of the first things that gets mentioned once you start discussion on online payments. It’s not so without reason – in 2008, PayPal moved over 60 billion dollars between accounts which is, you’ll agree, a respectable amount. And also, all trends show that this growth will continue – with huge number of new accounts (over 184 million accounts in 2008 compared to 96.2 million in 2005), with a new platform named PayPal X, and with more cool applications that involve paying (like Twitpay), you can bet that PayPal is here to stay. So, how can you join the whole PayPal Development movement?
Unfortunately, I would say – not so easily. When I first started with PayPal integration - it was hard, really hard. If you wish to see what I mean, just jump to the PayPal Developer Center. There is no way you’ll easily fish out what you need from that site if you are a PayPal newbie; simply - there are too many links, too many resources, and too many mixings of important and not-so-important information. So, how should you start?
Getting Started with PayPal
To those who really want to get into PayPal, and are willing to shell out some buck, I would recommend the Pro PayPal E-Commerce book - that’s how I eventually got into understanding the concepts behind PayPal integration. For those who are not so eager to pay – don’t worry, that’s why this article is here... I'll go over most of the stuff that book covers, but in a more brief and concise manner.
First and foremost - understanding what kinds of integration PayPal offers is, I would say, the most important thing in order to successfully start your development journey. A common mistake, that happened to me also, is to start at once with the PayPal API and Express Checkout. I mean it’s natural - we are developers, and when they tell us to integrate with something, the first thing we look for is the SDK & API… the PayPal API comes up as a result… we say “That’s it” to ourselves… and start working. The problem is – the majority of payment scenarios can be handled with a way simpler approach - HTML forms that are part of the Website Payments Standard.
Setting up a Test Account
Word of notice – you’ll want to follow this step even if you already have a live PayPal account. There are two reasons for using test accounts:
- you don’t want to test and play with real money
- you want to have access to different types of PayPal accounts
- Personal account – most people have these; just an account that allows you to use PayPal when paying for stuff online. Theoretically, you can use a Personal account to accept money; just know that you’ll be severely constrained – there is a $500 receiving limit per month, and you are only able to accept one time payments using the Website Payments Standard (HTML). The big advantage of a Personal account is that you don’t need to pay any transaction fee when receiving money. Note, however, that if you receive more than $500 in one month, you’ll be prompted to either upgrade to a Premier/Business account or reject the payment.
- Premier account – step up from a personal account; for anyone who wants to run a personal online business. This type of account has all of the integration options (accepting credit cards, recurring payments, PayPal API). However, most people skip directly from Personal to Business account as Premier account has the same transaction fees (in most cases, 2.9% + $0.30 per transaction) while lacking reporting, multi-user access, and other advanced merchant services of the Business account.
- Business account – it has all of the features of the Premier account plus a few more (ability to operate under your business’s name is one of them). If you are developing a website that needs to accept payments in 99% of situations, you’ll go with this type of account.
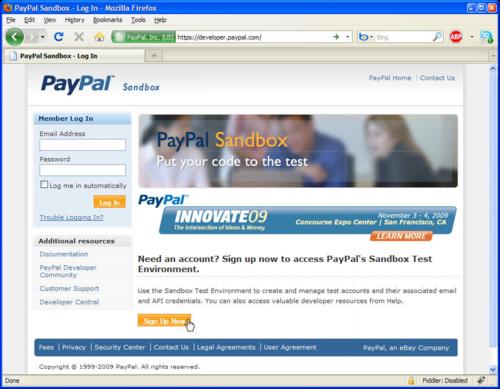
To start, visit the PayPal Sandbox and sign-up for a new account. The process is straightforward, and most developers should have no trouble finishing it. However, here are the pictures that will help you navigate through the process:

Signing up for a Sandbox account

Filling in the details of your Sandbox account
Once done with entering the details for your Sandbox account, you'll need to check the email you provided in order to complete the registration. After that, you'll be able to login and start creating Sandbox PayPal accounts. Clicking onTest Accounts (menu on the left), and then Create Account: Preconfigured - will get you a form like the one on the image below:

Creating a Sandbox test account
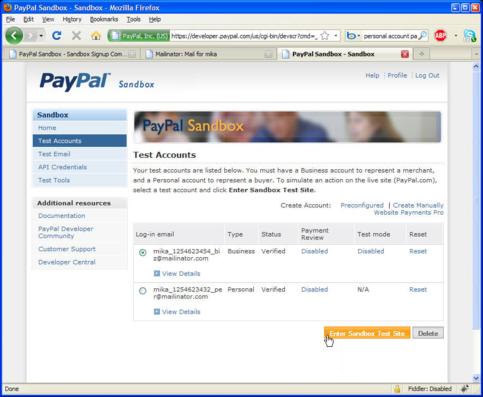
Clarification of Account Type radio buttons: by selecting Buyer, you'll create a Personal account, and by selecting Seller, you'll create a Business account. For testing most integration scenarios, you'll need both accounts, so be sure to create them. Here is what you should eventually have on your screen after you click on Test Accounts:

Overview of your testing accounts
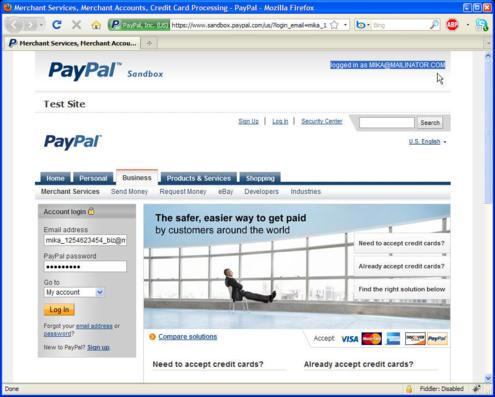
Checking the radio button next to any of the accounts from the list and clicking on Enter Sandbox Test Site should bring up the Sandbox PayPal site which will allow you to login and administer your account in the same way as with a regular PayPal account. The only difference is that you'll have a huge PayPal Sandbox header and text that displays the email address of your developer account. To see what I'm talking about, check the image below:

Administering a PayPal Sandbox account
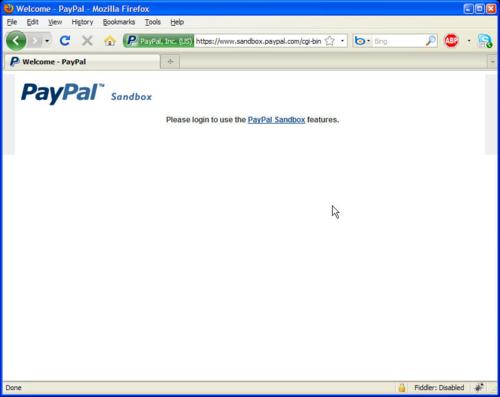
Last but not least - in order to use your Sandbox account for testing, you need to be logged in with your developer account. If you are not logged in and you follow some payment link, you'll get the following screen:

Login to use the PayPal Sandbox features
 Sourabh Parmar

0 comments:
Post a Comment